Odorless Acrylic Pink & White Sculptured Nail Application - A Guide
Gleam Labs™
Odorless Acrylic Pink & White Sculptured Nail Application - A Guide
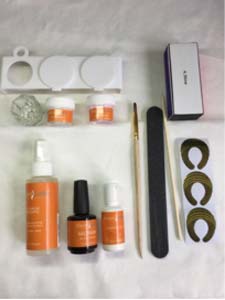
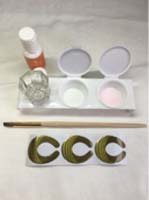
You will need the following supplies:
- Table Towel
- Paper Towels
- Gleam Labs All Purpose Antiseptic
- Gleam Labs Nail Primer
- Nail Forms
- Nail Buffer
- Dappen Dish
- Dappen Dishes for Powders
- 100/180 Grit File
- Flat Nail Brush
- Gleam Labs White Acrylic Powder
- Gleam Labs Pink Acrylic Powder
- Gleam Labs Odorless Nail Liquid
- Mannequin Hand or Client
- Nail Polish (optional)
- Click Here to Buy Deluxe Odorless Acrylic Kit
Application
- 1 - Wash your hands and have client do the same. Dry hands thoroughly.
- 2 - Spray your hands and clients hands with Gleam Labs All Purpose Antiseptic and allow to dry.
- 3 - Gently push back cuticle.
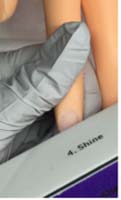
- 4 - Using the 180 grit side of the file gently remove shine from the natural nail.
- 5 - Remove dust from the nail plate.
- 6 - Apply Gleam Labs Nail Primer sparingly to the natural nail. Make sure that primer does NOT flood the nail plate or surrounding skin.
- 7 - Allow primer to dry.
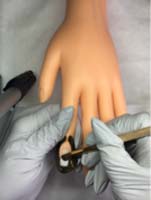
- 8 - Apply the nail form, making sure it fits snugly under the free edge of the nail.
- 9 - Pour a small amount of Gleam Labs Odorless Nail Liquid into the dappen dish.
- 10 - Pour a sufficient amount of Gleam Labs White Acrylic Powder into one of dappen dishes, Pour a sufficient amount of Gleam Labs Pink Acrylic powder into the other dappen dish. This prevents contamination of your powder.
- 11 - Dip your nail brush into the Gleam Labs Odorless Nail Liquid allowing the brush to go all the way into the liquid, press the brush on the side of the dappen dish from the ferrule down to lightly remove excess monomer.
- 12 - Lightly drag your brush across the top of the Gleam Labs White Acrylic Powder to pick up a ball. You will need a pea sized amount, it should have a grainy appearance. Place the bead where the form meets the nail. The product should NOT run onto the nail. It should become slightly glossy on top and stay where it was placed. The ratio is 1:1. Drier than traditional monomers.
- 13 - Wipe your brush onto a clean paper towel to remove excess liquid and any powder.
- 14 - Pat/press the product from side to side to form the free edge. Turn your brush on its side to push up the product towards the nail groove to begin creating your smile line. Do the same on the other side of the nail. Drying your brush on a paper towel as you work. Keeping your brush dry will prevent the acrylic from sticking to the brush.
- 15 - Wipe your brush on a clean area of the paper towel and clean the smile line with the corner of your brush to sharpen the look.
- 16 - Dip your brush into the liquid press the brush on the side of the dappen dish from the ferrule down to lightly remove excess monomer.
- 17 - Pick up a second, slightly smaller ball of Gleam Labs Pink Acrylic Powder and place in the center of the nail.
- 18 - Wipe your brush onto a paper towel to dry it off.
- 19 - Keeping your brush clean and dry, pat/press the second ball from side to side to build the center/stress area of the nail. After pressing into place gently stroke the Gleam Labs Pink Powder over the White free edge. Pull the pink over the white lightly where the two colors meet. Keep excess acrylic liquid and powder off the surrounding skin to avoid potential allergic reactions.
- 20 - Dip the tip of the brush into the liquid, wipe on the side of the dish.
- 21 - Pick up a third smaller ball of Gleam Labs Pink Acrylic Powder and place towards the back of the nail.
- 22 - Wipe brush on paper towel to remove excess liquid from brush.
- 23 - Pat/press the acrylic ball side to side to fill the cuticle area keeping both the Gleam Labs Odorless Liquid and Powder OFF the cuticle and surrounding skin. Gently stroke towards the free edge.
- 24 - Allow the nail to dry before removing the form. You can determine if the nail is ready by tapping the nail with the end of your nail brush, there should be a clicking sound. The surface of the nail will feel soft and slightly tacky to the touch.
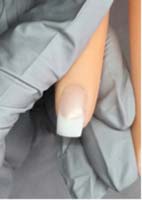
- 25 - Using the 100/180 grit file, filing in one direction, roll off the dispersion layer. After the layer is removed file and shape the nail as usual. Buff the nail to smooth and shine.
- 26 - Have client wash hands and apply polish as desired.
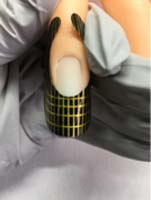
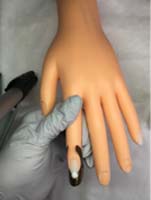
Form Meets the Nail
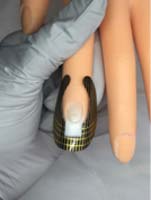
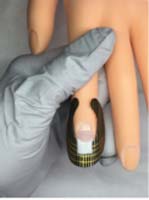
of Pink Acrylic
on Center of Nail
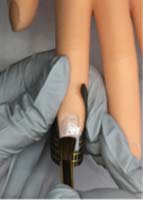
from Side to Side
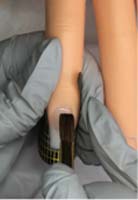
on Back of Nail
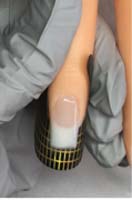
Side to Side
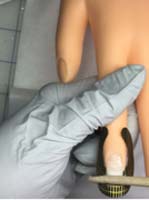
for Clicking Sound.
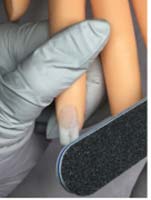
Layer
Smooth & Shiny
A few notes about Gleam Labs™ Odorless Acrylic Systems
- Gleam Labs Odorless liquid is slightly thicker than traditional monomers, with a slower evaporation rate.
- The application of the Gleam Labs Acrylic Powder is a bit thicker to compensate for the dispersion layer that is rolled off.
- Keep your brush clean to prevent contaminating your liquid.
- When wiping excess liquid and powder from your brush always use a clean part of your paper towel to avoid picking up contaminates from the paper towel.
- Picking up contaminants will cause nail to yellow.
- Keep the Gleam Labs and powder off the skin and surrounding area to reduce chances of allergic reaction.
- Pat the ball to move it on the nail gently stroke to blend into the previous ball.
- Tap the nail with the end of your nail brush to hear clicking sound to determine if it's ready before rolling off dispersion layer.
- After dispersion layer is removed file and finish nail as usual.


